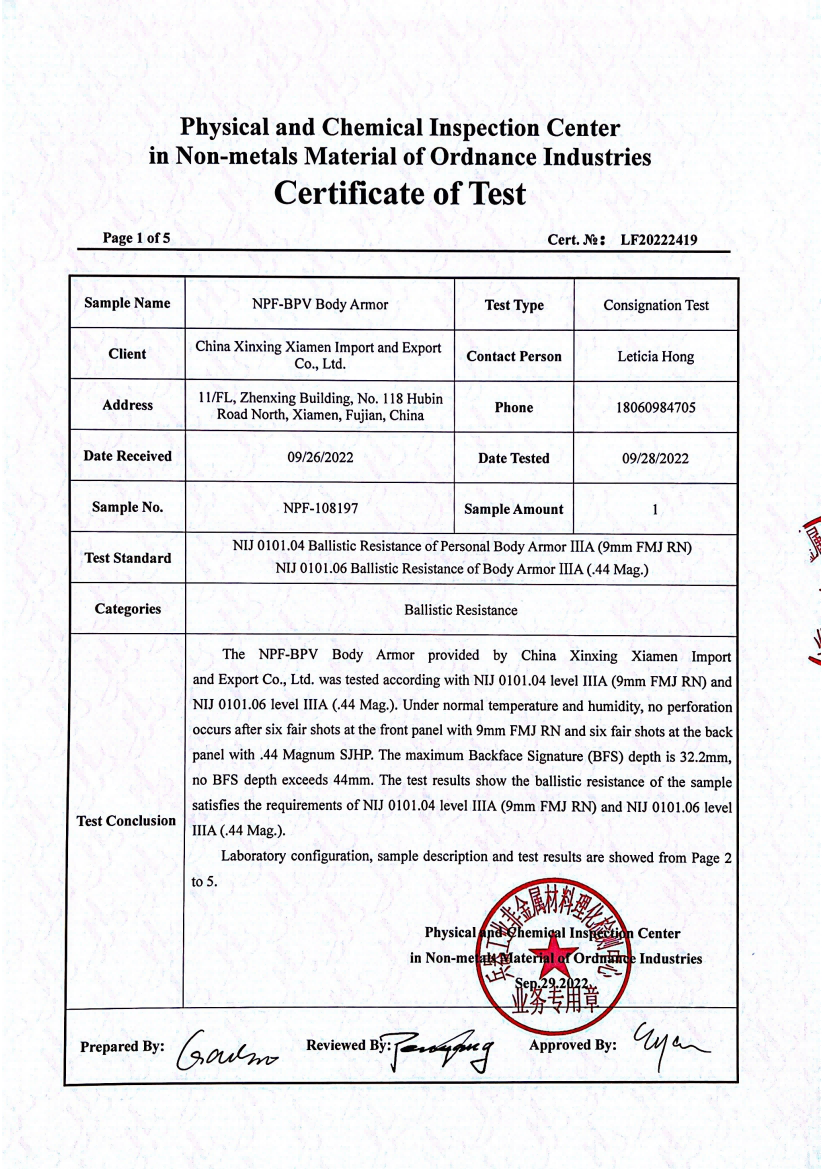
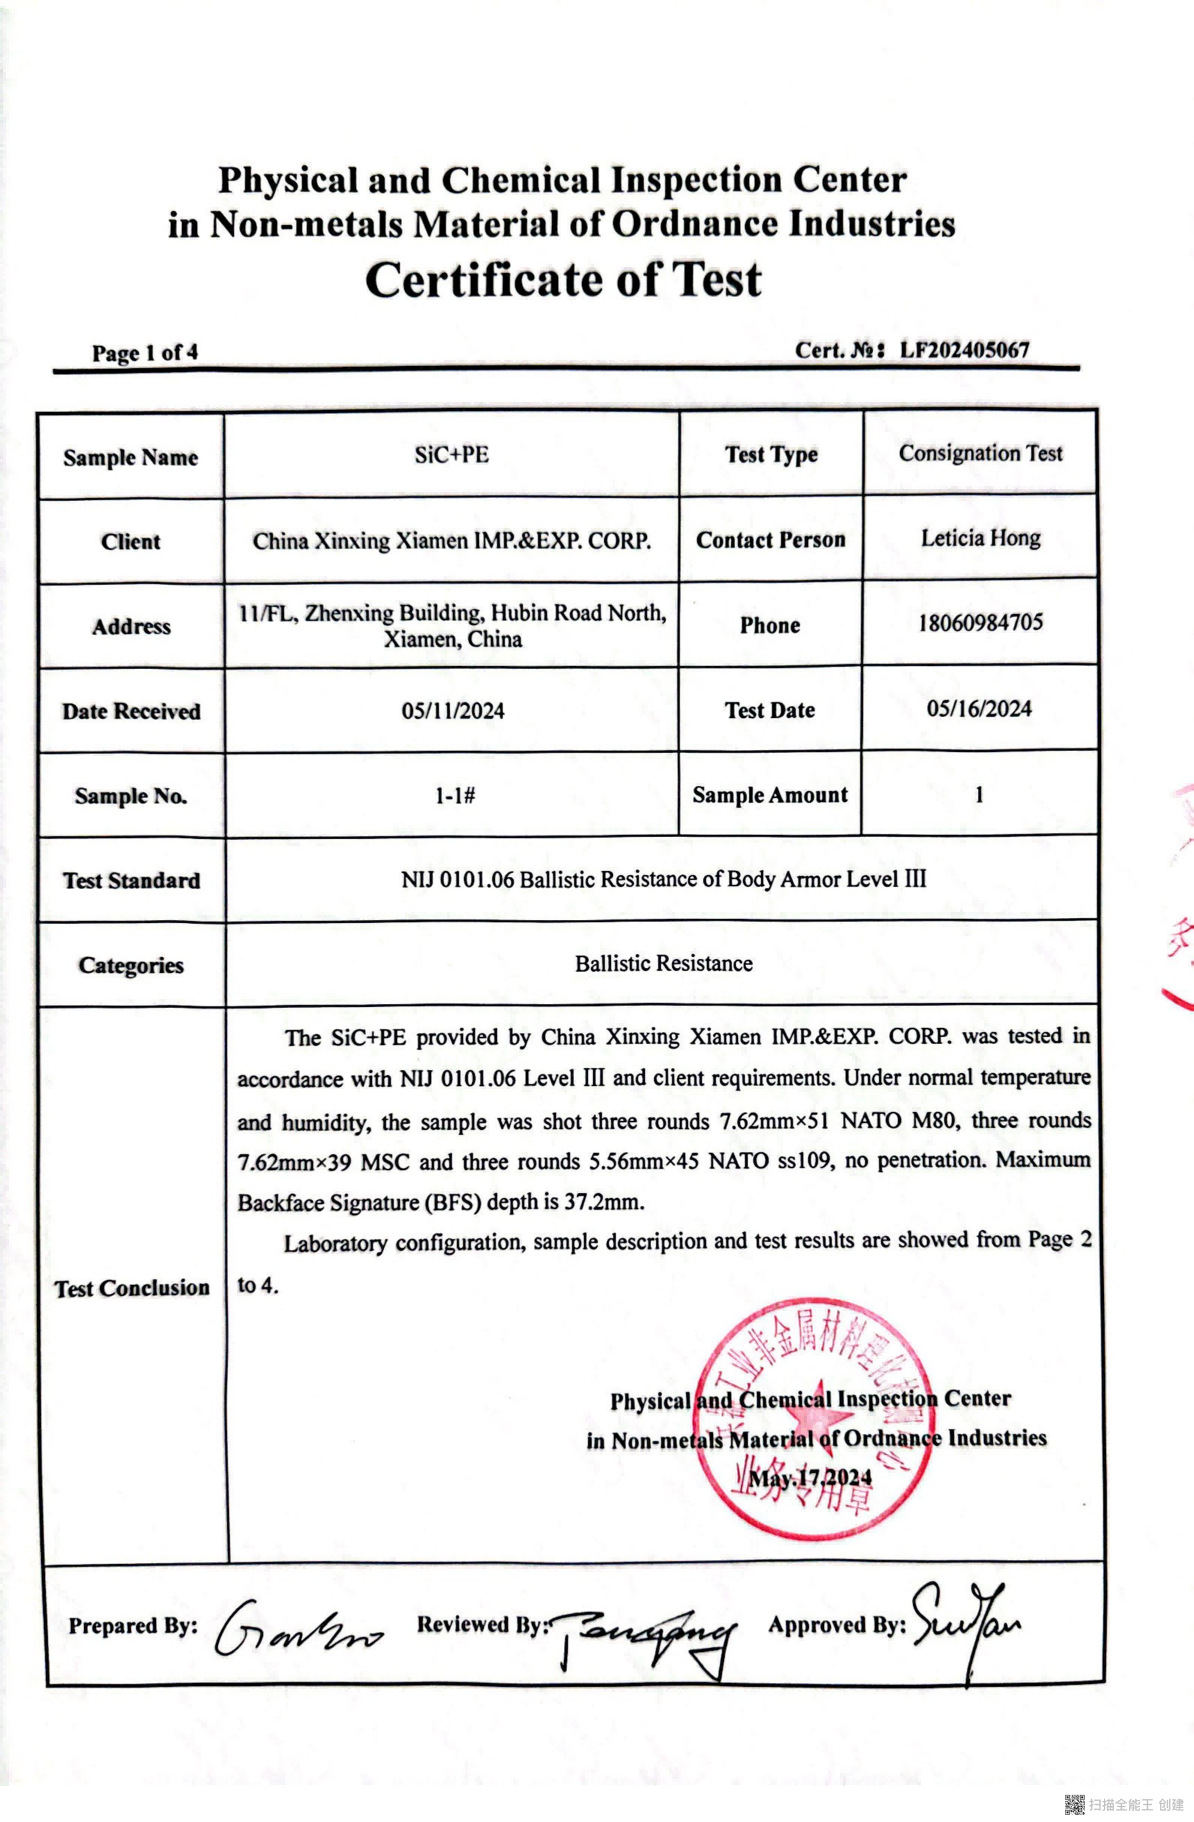
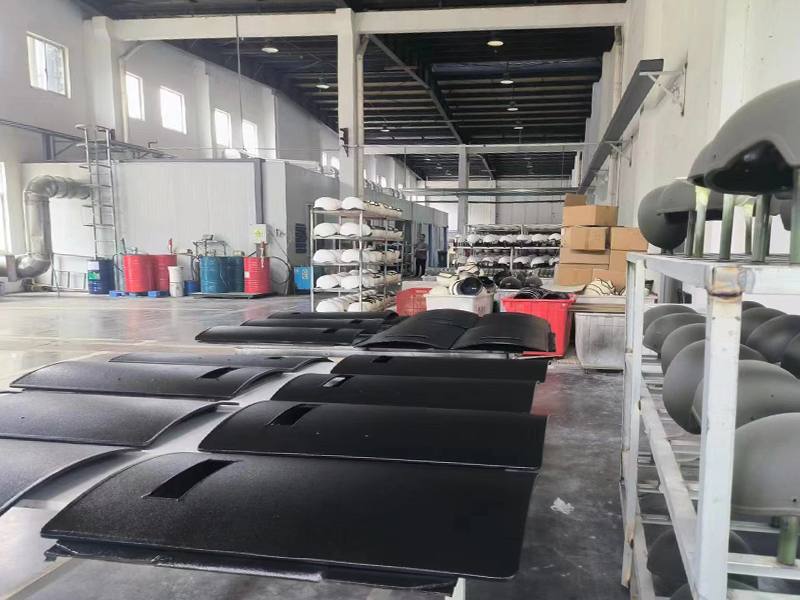
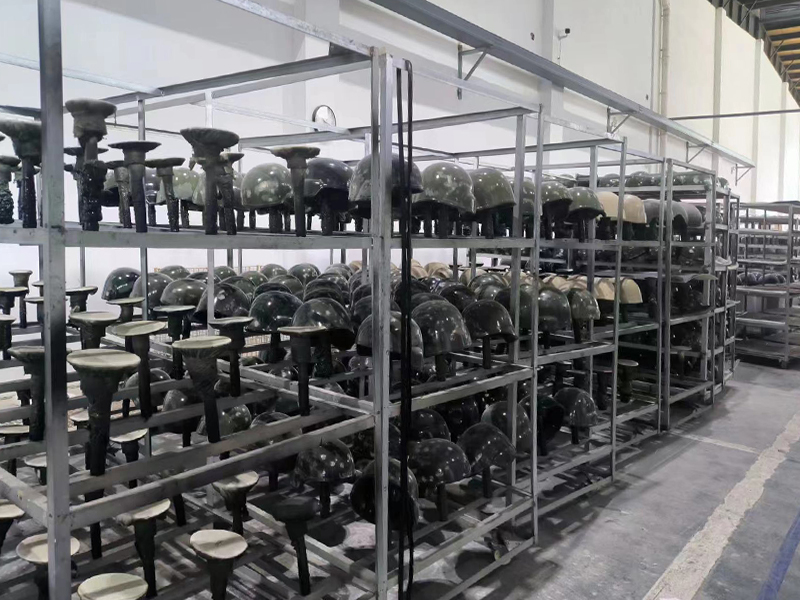
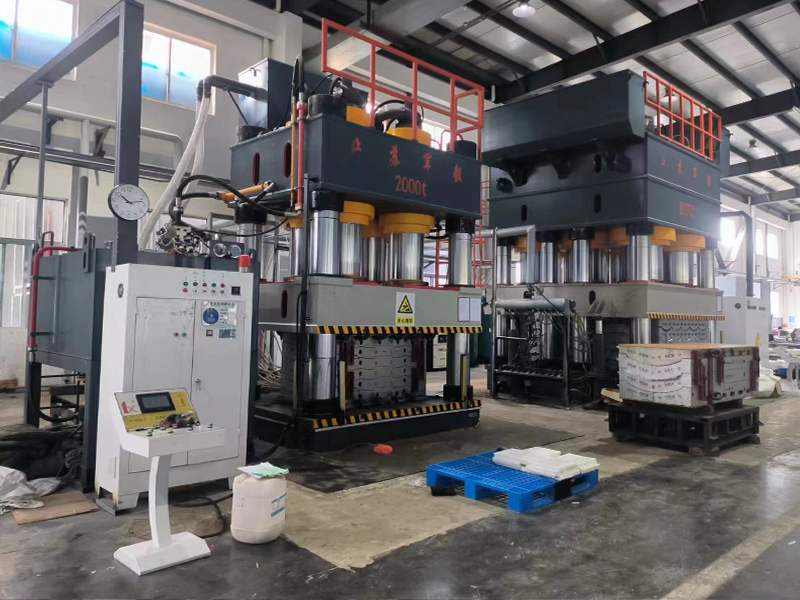
- Cold-press Setting and Curing: Immediately after hot-press shaping, the shell is sent to the cold-pressing equipment. A low-temperature and high-pressure environment is used for cold-pressing treatment to accelerate the curing of the shell material. Finally, the formed shape of the helmet shell is fixed, ensuring dimensional accuracy and structural stability.
Production Process of Ballistic Plates
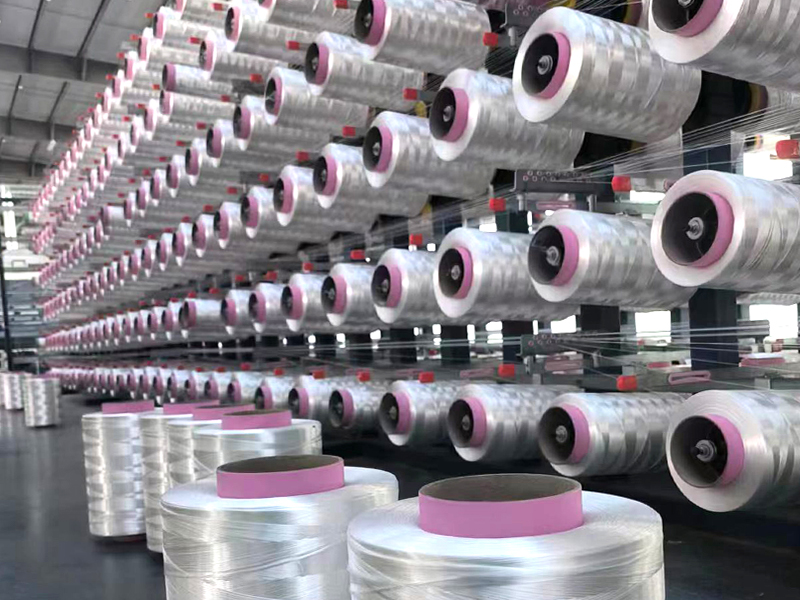
1. Cutting and Laminating Operation for PE Materials
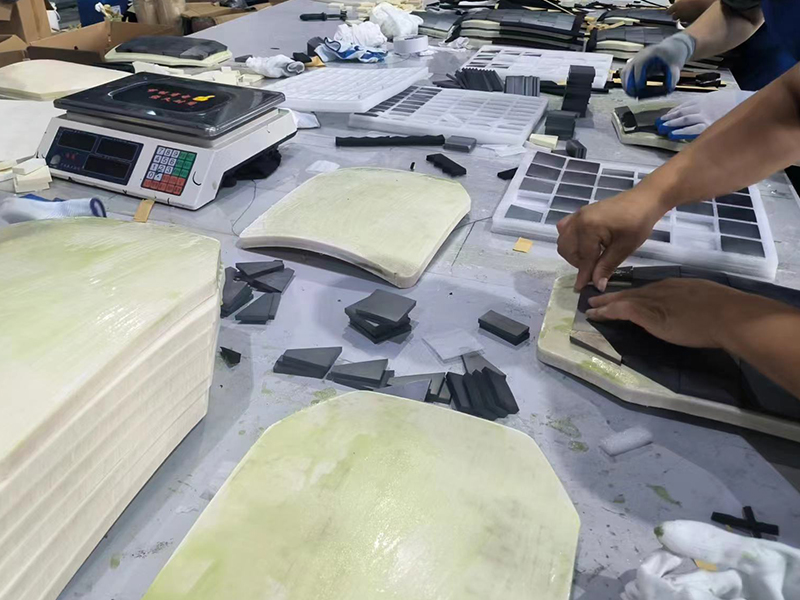
- Unroll the rolled PEUD fabric, then cut it into 250*300mm sheets.
- Weigh the cut sheets in accordance with requirements.
- Place the 250*300mm PEUD fabric into the mold.
- Put a sheet of silicone oil release paper on top of the fabric.
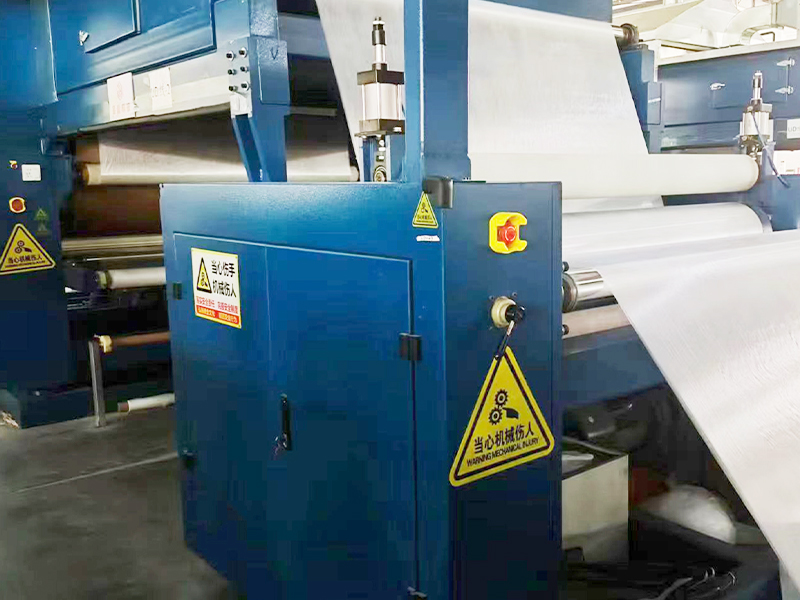
2. Hot Forming Process for Ballistic Plates
(Equipment: 500-ton hydraulic press)
- Turn on the power supply.
- Heat the mold to 1250±5℃ (when starting daily operations, keep the mold insulated for 15 minutes).
- Open the mold and clean its interior.
- Spray mold release agent into the mold.
- Place the edge-trimmed ballistic plate into the mold.
- Close the mold and apply pressure: initial pressure 3MPa, pre-press for 3 minutes; then adjust pressure to 10MPa, keep insulated for 5 minutes, release air, open the mold by 2mm, and maintain pressure until the plate cools to room temperature.
- Quickly remove the plate from the mold.
- Proceed to the next process.
3. Cold Forming Process for Ballistic Plates
(Equipment: 500-ton hydraulic press)
- Turn on the water supply valve and check the water source.
- Turn on the power supply.
- Open the mold and clean its interior.
- Spray mold release agent.
- Quickly place the ballistic plate from the previous process into the mold.
- Close the mold (pressure: 15-20MPa; cooling time: 10 minutes).
- Cool and form the plate.
- Remove the plate from the mold.
4. Edge Trimming Process for Ballistic Plates
- Mark lines on the ballistic plate according to its specified dimensions.
- Turn on the band saw power supply.
- Cut along the marked lines to remove excess edge material.
- Trim the rough edges of the ballistic plate with electric shears.
5. Post-Forming Process for Ballistic Plates
- Take the formed ballistic plate.
- Mark lines on it as required.
- Perform cutting operations.
- Attach ceramics to the plate.

